How to Keep Food Cold Without Ice
Master proven techniques to keep your camping food fresh and cool without relying on ice. Learn passive cooling, insulation strategies, and smart food planning.
Overview
No ice? No problem. These 5 techniques keep your camping food cold and fresh all trip long.
Running out of ice means warm drinks, spoiled food, and disappointed bellies. But you don’t need ice to keep food cold at camp. With the right strategy and a few simple techniques, you can maintain cool temperatures throughout your trip—even in summer heat.
The key is understanding how heat works and using passive cooling, smart insulation, and strategic water sources to your advantage.
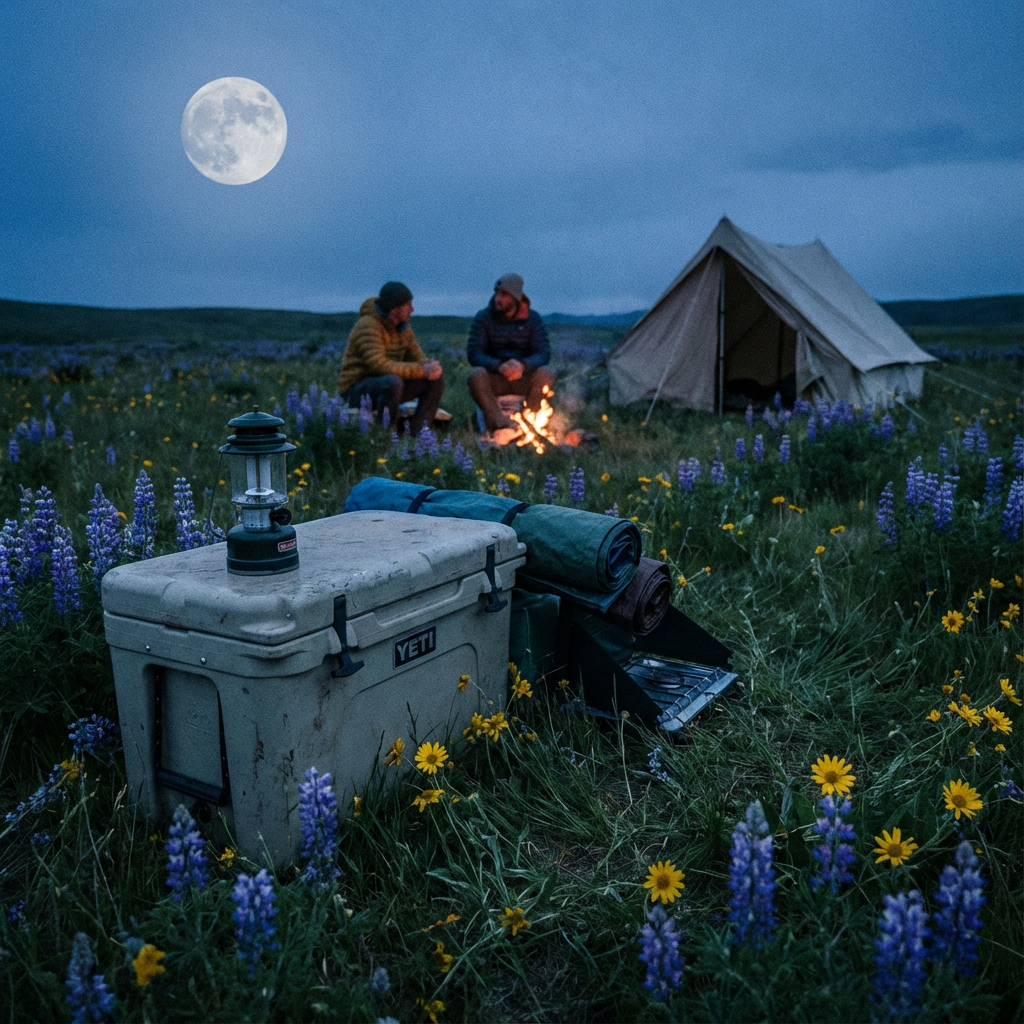
The Water-Cooled Cooler Hack
The oldest and most reliable no-ice solution is using cold water instead of ice.
Start with pre-chilled water. Before you leave home, fill plastic bottles with water and freeze them solid. Pack these frozen bottles as your primary cooling agent. As they melt, they transform into drinking water that also cools your food. Two birds, one stone.
Soak the cooler. Fill your cooler with cold water before packing food inside. Let it sit for 30 minutes, then drain it. This pre-cools the walls and dramatically increases cooling efficiency. A chilled cooler stays cold three times longer than a room-temperature one.
Use the water-bottle exchange. Throughout your trip, refill bottles at camp water sources and place them in the cooler periodically. Mountain streams, lakes, and natural water sources are often cold enough to serve as cooling agents. Even water at 50°F provides meaningful cooling.
Elevation and Cold Air
Camping in the mountains or at higher elevations gives you a natural advantage.
Temperature drops with altitude. For every 1,000 feet of elevation gain, temperature drops approximately 3.5°F. A cooler stored at 8,000 feet experiences dramatically different conditions than one at sea level. At high elevations, you might not need active cooling at all—the ambient air does the work.
Nighttime cooling. Even in warm regions, nights cool significantly. Store your cooler in shade during the day and leave it open (covered with netting to prevent animals) during cool nights. The temperature drop can re-cool your contents substantially.
Natural shading. Position your cooler in the deepest shade available: beneath a tarp, inside a tent, or under dense trees. Direct sunlight is your enemy. Shade alone can reduce cooler temperature by 15–20°F compared to sun exposure.
Wet Cloth Evaporative Cooling
Evaporation is nature’s air conditioner. It works remarkably well in dry climates.
Wrap your cooler. Soak a cotton cloth or burlap sack in cold water and drape it over your cooler. Make sure it touches the sides. The evaporating water pulls heat away from the cooler, cooling everything inside. In dry conditions (humidity below 40%), this method rivals ice performance.
Keep the cloth damp. Refresh the wet cloth every few hours by re-soaking it in water. The cooler the water source, the better. This works best in arid regions, high deserts, and dry mountain areas.
Pro tip: layered cooling. Combine wet cloth wrapping with a frozen water bottle inside for maximum effect. The layers compound the cooling benefit.
Strategic Food Planning
The smartest cooling happens before you arrive at camp through intelligent meal planning.
Choose shelf-stable proteins. Plan meals around foods that don’t require refrigeration: dried meats, canned fish, nuts, beans, and protein powder. Save fresh proteins for your first night when your cooler is coldest.
Embrace cold soaks. Soak dried beans, lentils, and pasta in cold water overnight. They hydrate without cooking, require no stove fuel, and taste fresh. Combine with canned vegetables or fresh produce for complete meals.
Eat fresh first. Hard vegetables and sturdy fruits (carrots, apples, cabbage, potatoes) last longest without refrigeration. Store these on top and eat your more perishable items first. A vegetable that wilts is still edible. Spoiled meat is not.
Minimize opening. Every time you open your cooler, cold air escapes and warm air enters. Plan your meals to minimize the number of cooler visits. Prepare cold ingredients ahead of time.
Water Source Cooling
If your camp is near running water or a cold lake, you have a built-in cooling system.
Submerged containers. Place sealed containers (bottles, bags) in cold water for an hour, then return them to your cooler. The pre-cooled contents help regulate internal temperature.
The stream fridge. In cold climates or high elevations, use a permeable mesh bag weighted down in a stream. Place perishables inside and secure it to prevent loss. The circulating cold water keeps food at stream temperature—often 40–50°F.
Night dunking. After dark, submerge your cooler (or sealed containers) in a cold lake or stream for 2–3 hours. The thermal mass of water cools through the night. Retrieve everything in the morning.
Cooler Setup Best Practices
Cooler design matters as much as cooling method.
Insulation first. Use a cooler with at least 2 inches of foam insulation. Cheap coolers are useless without active cooling. Better insulation means your chosen cooling method works longer.
Airflow management. Place cooling elements (frozen bottles, cold water) on the bottom and around sides. This creates convection currents that cool the entire cooler evenly. Don’t just dump everything in randomly.
Drain well. Position your cooler slightly tilted so melted water (or water from soaked bottles) drains into a collection pan. Standing water becomes stagnant and smelly.
Minimize air gaps. Pack your cooler densely. Air pockets reduce efficiency. Use smaller bottles, bags, and containers to fill spaces efficiently.
The Real-World Schedule
Here’s what a practical no-ice cooling strategy looks like for a three-day trip:
Day 1 (arrival). Your cooler arrives pre-chilled with frozen water bottles and sealed containers pre-cooled in your freezer at home. Everything is at peak cold. Use this day for fresh proteins and perishables.
Day 2 (mid-trip). Refresh cooling with cold water from your camp source. Eat heartier meals based on shelf-stable ingredients. Use frozen water bottles for drinking water and secondary cooling.
Day 3 (departure). Rely primarily on shelf-stable foods. Your cooler has warmed somewhat, so avoid items requiring strict refrigeration.
When Ice Still Matters
There are situations where ice wins: extreme heat (above 95°F), trips longer than 4 days, or when you’re storing large quantities of fresh meat. Block ice (not cubes) lasts longer and keeps coolers colder. But for typical summer camping trips of 2–4 days with smart planning? You don’t need it.
The techniques above work because they respect thermodynamics instead of fighting them. Cold water, elevation, shade, evaporation, and good insulation all work together to maintain reasonable temperatures. Master these methods, and you’ll never feel dependent on ice again.
Get creative with cold water, plan your meals strategically, and your food will stay fresher longer than you’d expect—ice or no ice.
Now you know. Happy Camping! 🏕️
More in How-To Guides
Keep reading.

Camping in Bear Country: Safety Guide
Learn bear behavior and proven safety strategies to camp confidently in bear country. Understand prevention, deterrents, and response tactics that keep you safe.
First-Time Car Camping: The Complete Checklist
Your essential guide to car camping without the overwhelm. Pack smart, plan ahead, and enjoy your first trip confidently with this comprehensive checklist.
How to Read a Topographic Map
Master the fundamentals of topographic maps. Learn contour lines, elevation, terrain features, and how to navigate confidently in the backcountry.